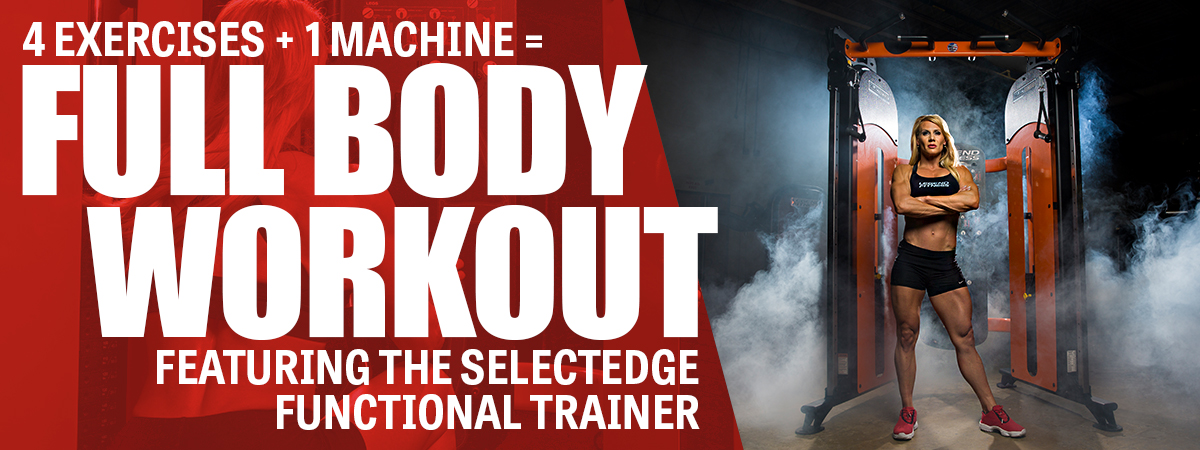
One of the best things about having a SelectEDGE Functional Trainer (1130) in your gym is that it’s an incredibly versatile piece of equipment, especially because it comes with seven different attachments. At the same time, such a versatile piece of equipment can be a little intimidating or confusing for new users, despite the placard showing 16 different exercises that are easy to do on the Functional Trainer. To help lessen the intimidation factor, we’ve selected four exercises (using just three of the seven included attachments) that will get you a full body workout. Read on to see how one machine can efficiently work your chest, legs, back and arms.

Chest: Pec Fly Press
Let’s start up top with one of the most common exercises done on this type of selectorized machine, the pec fly press. Chances are, the web grip handles will already be clipped on, but if they aren’t, you’ll need these to perform this exercise. Fortunately, all of the attachments should be easy to find on the SelectEDGE Functional Trainer—there’s a place for each one mounted at the back of the unit. Once you have the web grip handles attached to the pulleys, adjust the pulleys so they are set at shoulder height or higher. Make sure they are the same level, which is easy enough thanks to laser-cut numbers.
After adjusting the pulleys, use the pins in the weight stacks on either side of the machine to set your weight. Make sure the weights are both the same. Then, stand in the center of the weight stacks facing outward. If you are working with a spotter, have them stand in front of you. Grasp both handles firmly and take a step forward, bending your front knee slightly. Keeping your core tight, wrists straight, and elbows slightly bent, use your chest muscles to squeeze your arms down and forward, moving from the shoulder so that your hands almost touch in front of you. Release slowly, maintaining tension and making sure your elbows do not move past your back, and repeat.

Legs: Resisted Squats
Now that the blood is flowing in your upper body, let’s move to the lower body and do some resisted squats. To make things easier on yourself, adjust the pulleys to knee height or lower before swapping attachments. Once the pulleys are lowered, replace the web grip handles with the long bar, making sure each end of the bar is connected to a pulley. Select a weight that you are able to lift up and over your head so you can rest the bar across the top of your rear deltoids. Make sure both weight stacks are set at equal weights, since you’ll be lifting them together, and of course, remember to add up the weights on each stack before attempting to lift.
We recommend facing the inside of the machine to perform your squats so that a spotter can assist you from behind if necessary. Stand between the two pulleys, feet about shoulder-width apart, and get the bar situated across the top of your trapezius, keeping it parallel with the floor. Once you are set, bend at the knees while pushing the hips back, making sure to keep elbows in line with your ribcage. Move at a controlled pace. Once your thighs are parallel to the floor (though you can go deeper if you are comfortable doing so), reverse the movement at the same controlled pace and return to standing, then repeat.

Back: Lat Pulldown
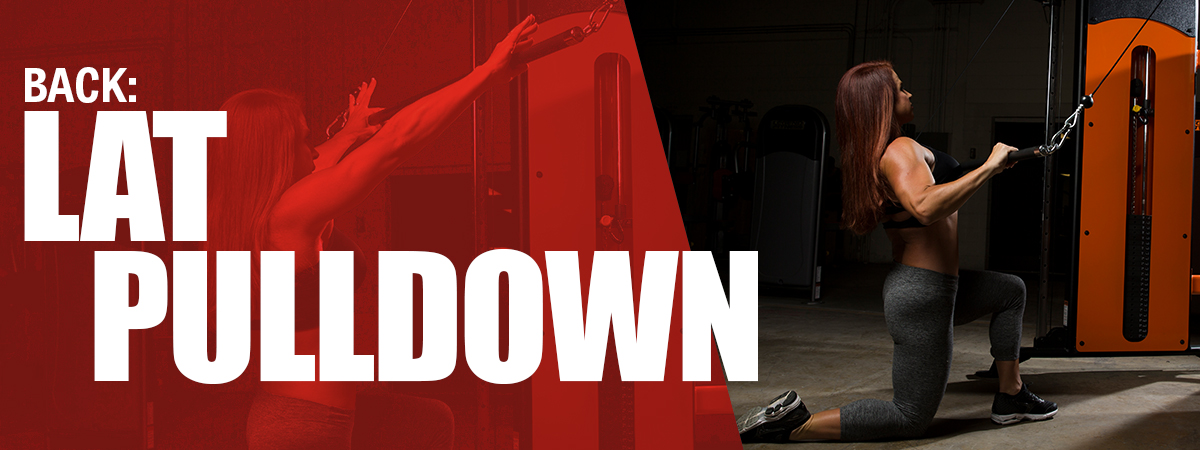
Moving back to the upper body will help rest your legs a bit. For the lat pulldown, you’ll want to keep the long bar attached to the pulleys, but it might help to unhook one side to make it easier to adjust the pulleys. You’ll want to move those up to the top of the machine. Reattach the bar if you detached one side, and set both weight stacks. Remember, you’ll be lifting both stacks at the same time, so be sure to do a little math again here. A folded yoga mat might be useful here, since you’ll be kneeling on one knee when you perform the lat pulldown exercise.
Stand in front of the bar, facing the inside of the machine, and grab the bar with a wide grip. Take a big step backwards, keeping grip on the bar. Lunge back and down onto one knee so that you are ready to begin lat pulldowns. Pull the bar towards your chest in a slow and controlled manner. Be sure to pull with your back and not your arms, and avoid dropping your elbows as you pull down. Keep your core tight and your neck straight throughout the motion to avoid over-arching your back. When the bar touches your chest, slowly return to your starting position and repeat.

Core: Ab Crunch
Last but not least, let’s hit core. For the ab crunch on the SelectEDGE Functional Trainer, you’ll need the rope grip attachment, so swap the bar attachment out. It doesn’t matter what side you put the rope grip attachment on, but leave the pulley up at the top. Set the weight on the appropriate weight stack to one you are comfortable with. Since this is another kneeling exercise, that folded yoga mat might be helpful again.
For the ab crunch, you’ll want to face away from the stack your rope grip is attached. You can work parallel or perpendicular to the 1130, but working perpendicular to the stacks keeps you from being a trip hazard, which is always a plus. Grab the rope grip with both hands overhead, elbows bent, and kneel on the floor. Keeping your arms where they are, your neck straight (avoid tucking your chin), and your core tight, hinge forward at the hips in a slow and controlled manner, using your core to drive the movement. When your chest is parallel with the ground, pause for a moment and then slowly reverse back up to your starting position and repeat.
So there you have it: A feel-the-burn full body workout using one machine and just three attachments. Easy enough, especially when you don’t have much time on your hands. With 24 notches in the adjustable cable columns and seven included attachments, the exercise options are nearly limitless! Go ahead and buy a SelectEDGE Functional Trainer for your gym.


Leave a comment